Showing posts with label gif. Show all posts

Monday, December 4, 2023

WeVideo Animated GIF Project: Holiday Tree Edition


There are lots of web tools out there to help you make fun animated GIFs, Adobe Express and Canva of course come to mind... but my school districts pay for WeVideo subscriptions, and there is SO much that you can do with WeVideo other than making, well... videos!


You can save as GIF, create simple animations, or export audio-only files (awesome for podcasting or songwriting!) Below are the steps that I use with 4-5th grade students to animate objects they create in class - this example is a sewing project, but could be easily adapted to other small sculptures, drawings, or paper crafts. Enjoy!


WeVideo Animated GIF Project: Holiday Tree Edition

You will need: 

Photo of tree ornament on green backdrop

You will also need:

Photo of student/yourself/person on green backdrop, posed to hold or interact with object in some way


OR


Photo of yourself with a festive backdrop (which eliminates the need to remove your own background)

Go to WeVideo.com

Sign in using Google

Open a new project (click “Create”)

Import your chosen/downloaded images from the steps above by clicking “import” and finding your files wherever you have them saved


Next, choose one of the options below:


OPTION ONE:


Drag your uploaded content down into the timeline. Make sure the tree ornament is on the top track!


(To the right is an example of how two tracks looks: the tree ornament + the photo of someone against a backdrop)


Trim the content so that it’s all the same length! 

OPTION TWO:


(To the right is an example of how three tracks look: the tree ornament, the person, and a backdrop selected from the WeVideo library)


Trim the content so that it’s all the same length! 

Now, remove the green backdrop from any clips by:


  • Selecting the correct clip

  • Clicking the “edit” pencil icon

  • Select “Keying” on the left side of the screen

  • Click the eyedropper icon,

  • Then click on an area of green in the preview pane

  • Click “Done” (upper right)


(If you have two greenscreen clips, repeat this process)

Now you will need to move and adjust sizing to arrange your image the way you want. 


Select a clip, and then use the “edit” pencil icon to access tools like cropping and sizing/scaling. 


Repeat this process on each clip as needed. 

Now, you can animate the tree ornament:


  • Click on the ornament clip in the timeline

  • Click on the “edit” pencil icon

  • Click on “animation”

  • Choose your start and end point of your clip

  • Click “done.”


NOTE: If you want your ornament to move up, then down, or right, then left, you will need to duplicate this clip and repeat the process. 

PRO TIP: 

If you hold down the SHIFT button while clicking and dragging on a clip, you can duplicate it easily. 

I ended up doing a 2-second animation up, and a 2-second animation down on my ornament. 


Then, stretch/trim your other clips to length. 


PREVIEW EVERYTHING!

Does it look good?


Click “Export” (upper right)


Make sure that GIF is selected as your output


Click export, and wait for the magic to happen! 

You can close the tab while it’s processing and work on something else without messing things up. 


If you do not close your tab, you might need to refresh your screen after a few minutes. 


When your GIF is ready, click “download” to save the file, and submit via Canvas or insert into another file, such as a Google Slide. 


I love this project because it's a way to elevate an already existing project where students create an object, but they get to see it come to life! 

Do you do any projects similar to this? How would you use this in the classroom?

- Jen

Jen Leban, Instructional Technology Coach bit.ly/LebanLinks


Wednesday, April 18, 2018

Easy Video Ideas for Teachers!


I love experimenting and testing out new video project ideas! But to some, new projects are a source of stress, fear, and anxiety. What if it fails? What if I forgot to plan some key component?

Or, the most common concern I hear:
I DON’T KNOW ENOUGH ABOUT MAKING VIDEOS, and WHAT ABOUT THE TIME?

To help combat these concerns, I've compiled a list of easy video project ideas that you can start using in your classroom right away. The EASIEST method of incorporating video would be to simply offer it as a choice item amongst a variety of choice project options for demonstrating understanding and/or mastery of a concept. Put the onus on the student to find the time and resources to develop the video on their own, if they so choose.

But maybe the idea of doing a video project in your class sounds super fun (spoiler alert: it IS) and you're just not sure where to start? Here is a list of some easy project ideas:

  • Narrate over a slideshow and record as a video instead of a whole-class presentation. (Eliminate student stage fright!) See my suggestions for screencasting below.
  • Set up a video camera on a tripod and record an IGNITE presentation (Presenters get 20 slides, which automatically advance every 15 seconds. The result is a fast and fun presentation which lasts just 5 minutes.)
  • Create a screencast (it’s a one-shot and done type of deal) - I like Screencastify and Screencast-O-Matic, although WeVideo has built-in screencasting abilities, too! Great for how-tos and having students teach eachother. 
  • Give a virtual tour - students could always record this outside of school, and use a limited time allotment in school to edit and assemble.
  • Create a gif using stop-motion: could be using photos or simple sketches/graphics, like a flip book. This is so easy that it can be done with as few as two pictures!
  • A book trailer - WeVideo now has TEMPLATES to use for video creation, as well as a gigantic media library (hundreds of thousands of files) of still images, video, and audio content (royalty-free!!!) that makes creation fast and easy - you don't even need a camera! 
  • A newscast - also available as a template on WeVideo!
  • Time-lapse: Set up a camera (or smartphone, iPad, etc) while students work; speed up the video to show work being completed at an amazing rate! This was super fun to do in art class to show progress over the course of several days; all it took was the time to set up the camera!

  • Lip dub: My son made this video in his bedroom all by himself, using a selfie stick. I can't even handle the cuteness, but imagine THIS with a whole class of students. They could each be responsible for a verse or phrase... or an AIR INSTRUMENT!


  • Challenge students to tell a story in four shots (or less!).
  • Challenge students to do a presentation on a topic in only 3 minutes! Here are some 3-minute(ish) TED talks for inspiration.

Hopefully this list has got you itching to try a video project in class! Maybe you're not sure where to go from here? As far as structuring your video projects go, I’ve done presentations on this very topic for a variety of groups. Check out my slide deck from a presentation on this topic that I gave last year:


I love helping other teachers try out new material in their classes, and brainstorming new, fun ideas. Never hesitate to reach out if you have any questions or need help!

- Mrs L.

Thursday, February 8, 2018

Tech Smash: Creating and Using Gifs in Your Lessons

via: http://images.clipartpanda.com/hulk-clip-art-hulkjump.png

So, I use a lot of video in my classroom. One of the technology units I teach is video production using WeVideo and filmmaking/storytelling techniques, but I also do a lot of informational screencasts to demonstrate assignment directions or how-tos when it comes to technology. (You can check out my YouTube channel here for more.)

Embedding a YouTube video or Google Drive video in Slides is great, but it’s a feature in Google Docs - not yet, at least. Because I rely on video so much, it’s kind of frustrating to link stuff and have a new window/tab open. Many middle school kids don’t like to exert the energy to click on a link and dig for information (ha ha - true story!). They want it RIGHT THERE in front of them. One way to do this is through inserting gifs - short animated looping images. Once you create a gif, they're easy to insert into your doc - same as inserting any other image!

I started out making gifs via free web services like Recordit, which allows you to select a portion of your screen and screencast it. You can then output your screencast as a gif. It’s a great way for beginners to do simple demos, like where to find functions in a menu and perform simple steps in an assignment that require the visual only.

But what if you want to add titles or captions to your gif? What if you have a video file (or portion of a video file) that you want to turn into a gif to insert in your assignment? Here are some options:


Screencast + captions/titles + Ezgif

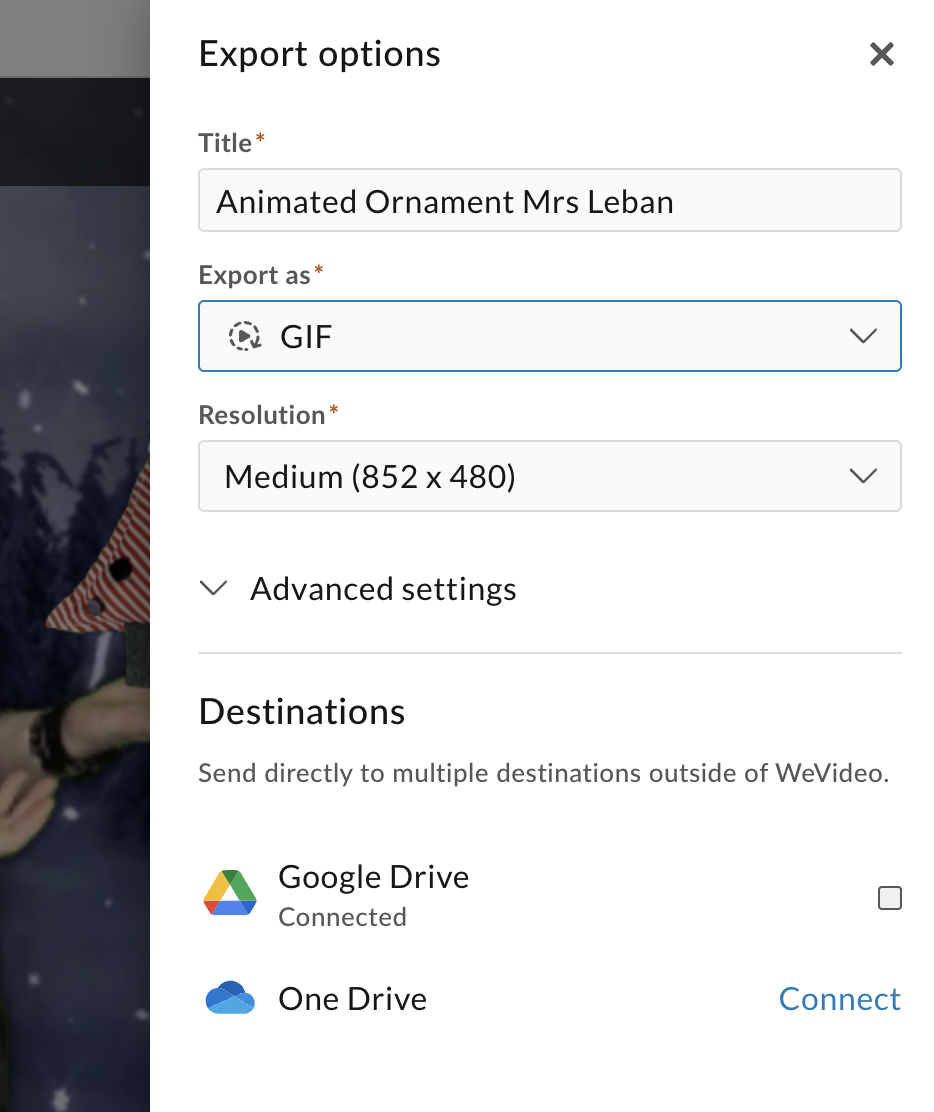
You can take a screencast (this can be done directly in WeVideo, or via any other fave screencasting app) and upload it to WeVideo, or another favorite video editing tool to add your titles, captions, or annotations as needed. Export your video file. Now, upload it to Ezgif to turn that video into a gif!


Video file + Ezgif (video to gif function; then “frames”)

When you upload your video file to Ezgif, you have the option of splitting the video into individual FRAMES. This is amazing, because you can edit your gif to clip the beginning/end as needed to include just the essential parts. You can also adjust the frame rate to speed up/slow down as needed.

Gif maker in Ezgif!

Whaaat?! An easy gif and animation creator! Upload photos or graphics as individual frames and turn it into a gif. I can’t wait to try this out with my students.

I love that I can “smash” together different apps and software to create quick visualizations to help illustrate concepts for students! Bonus: the looping aspect of a gif ensures that students don’t miss the action; it gets repeated and re-enforced in case they miss the step the first time around.


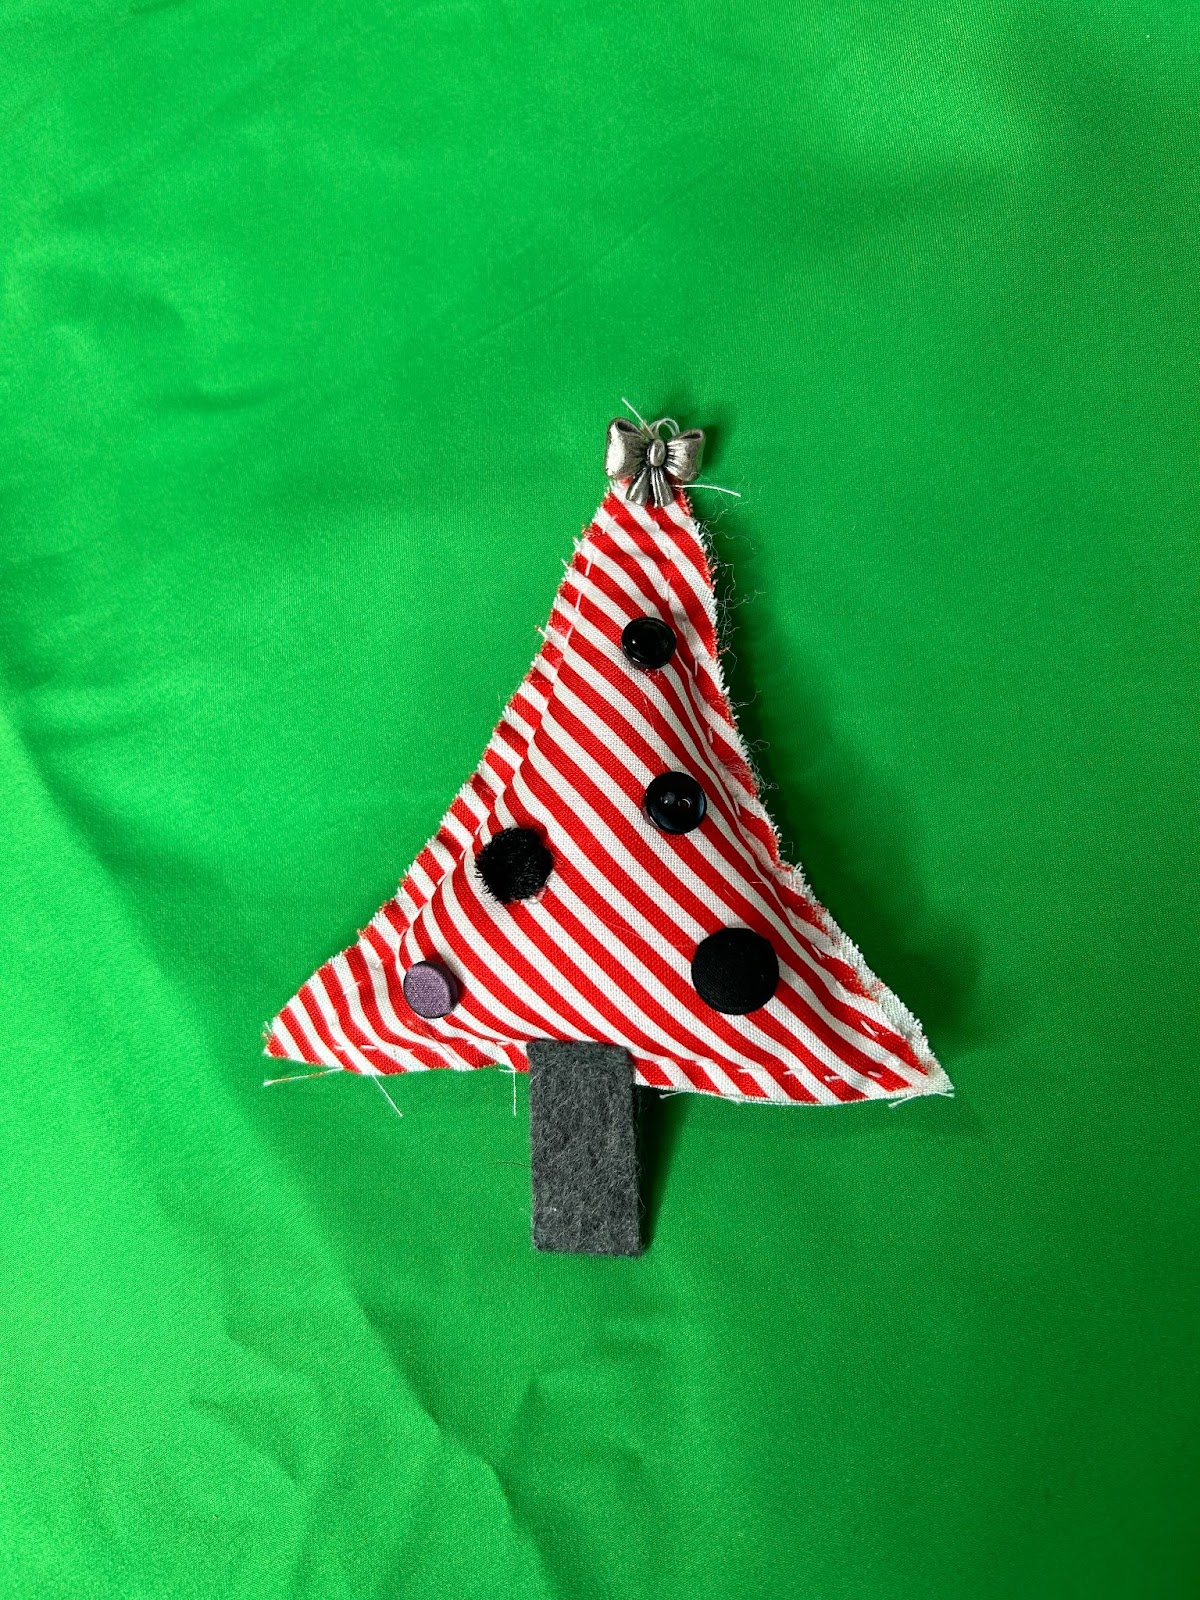
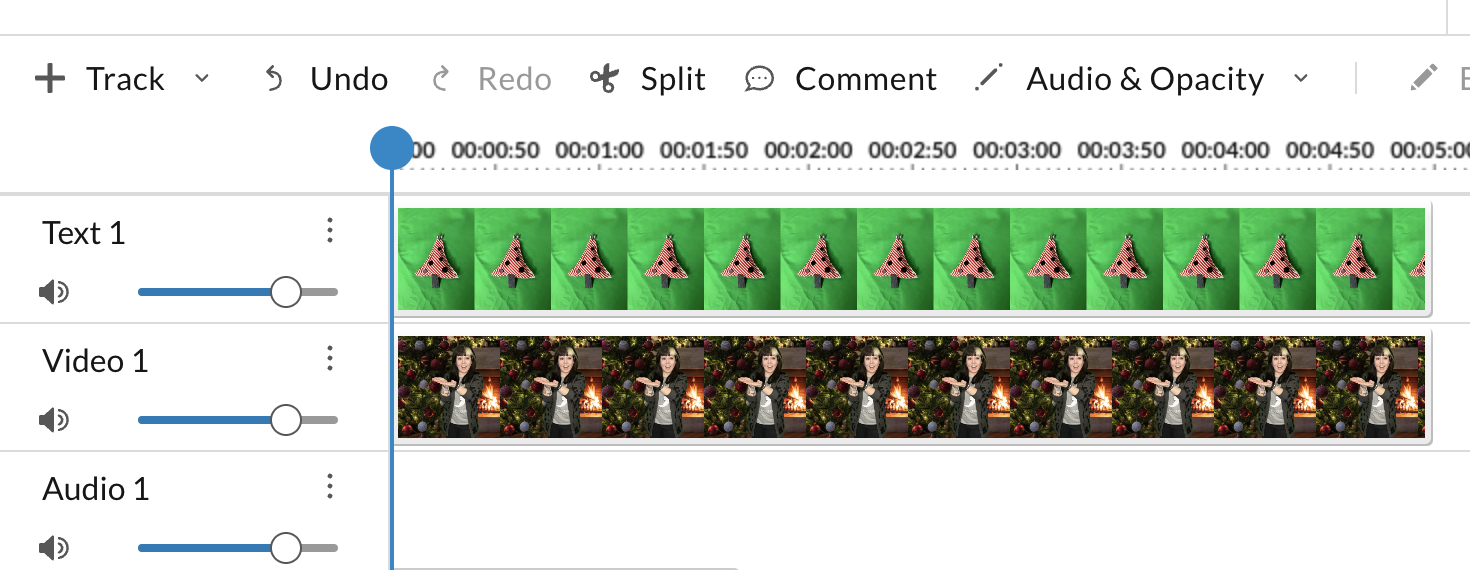
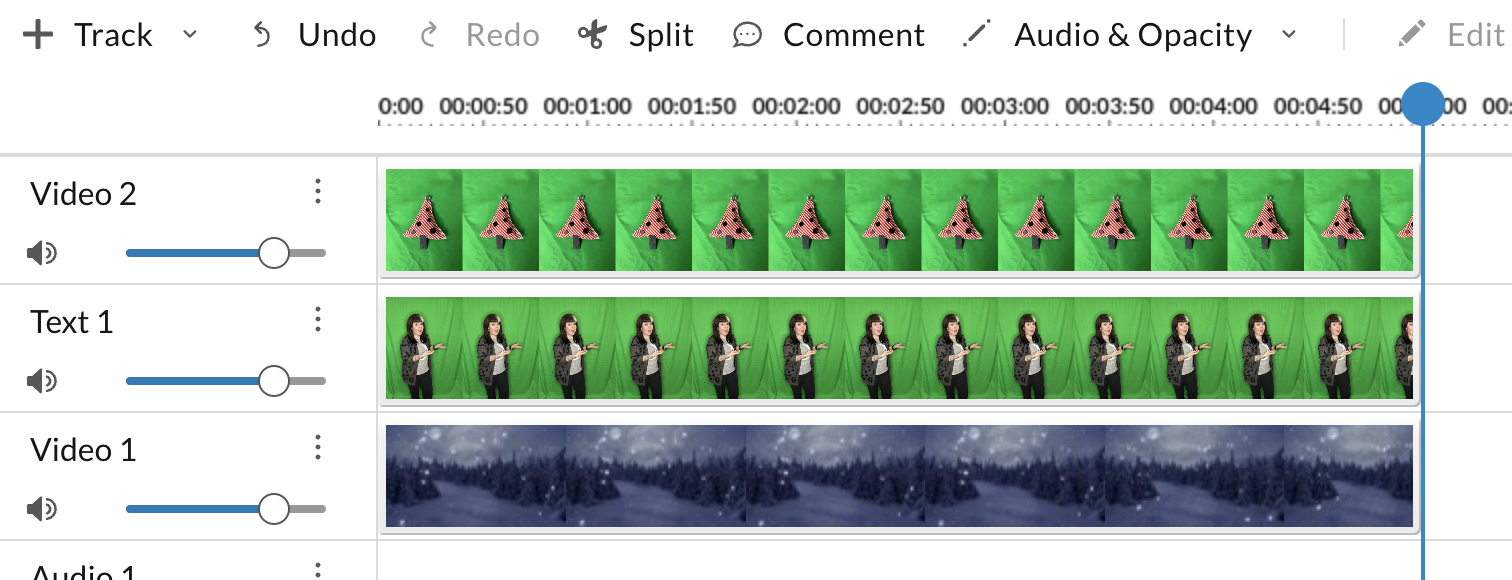
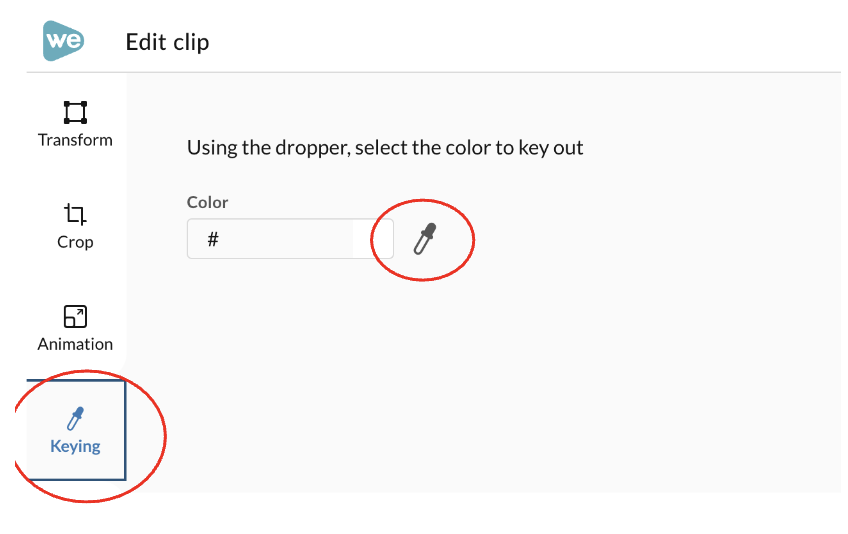
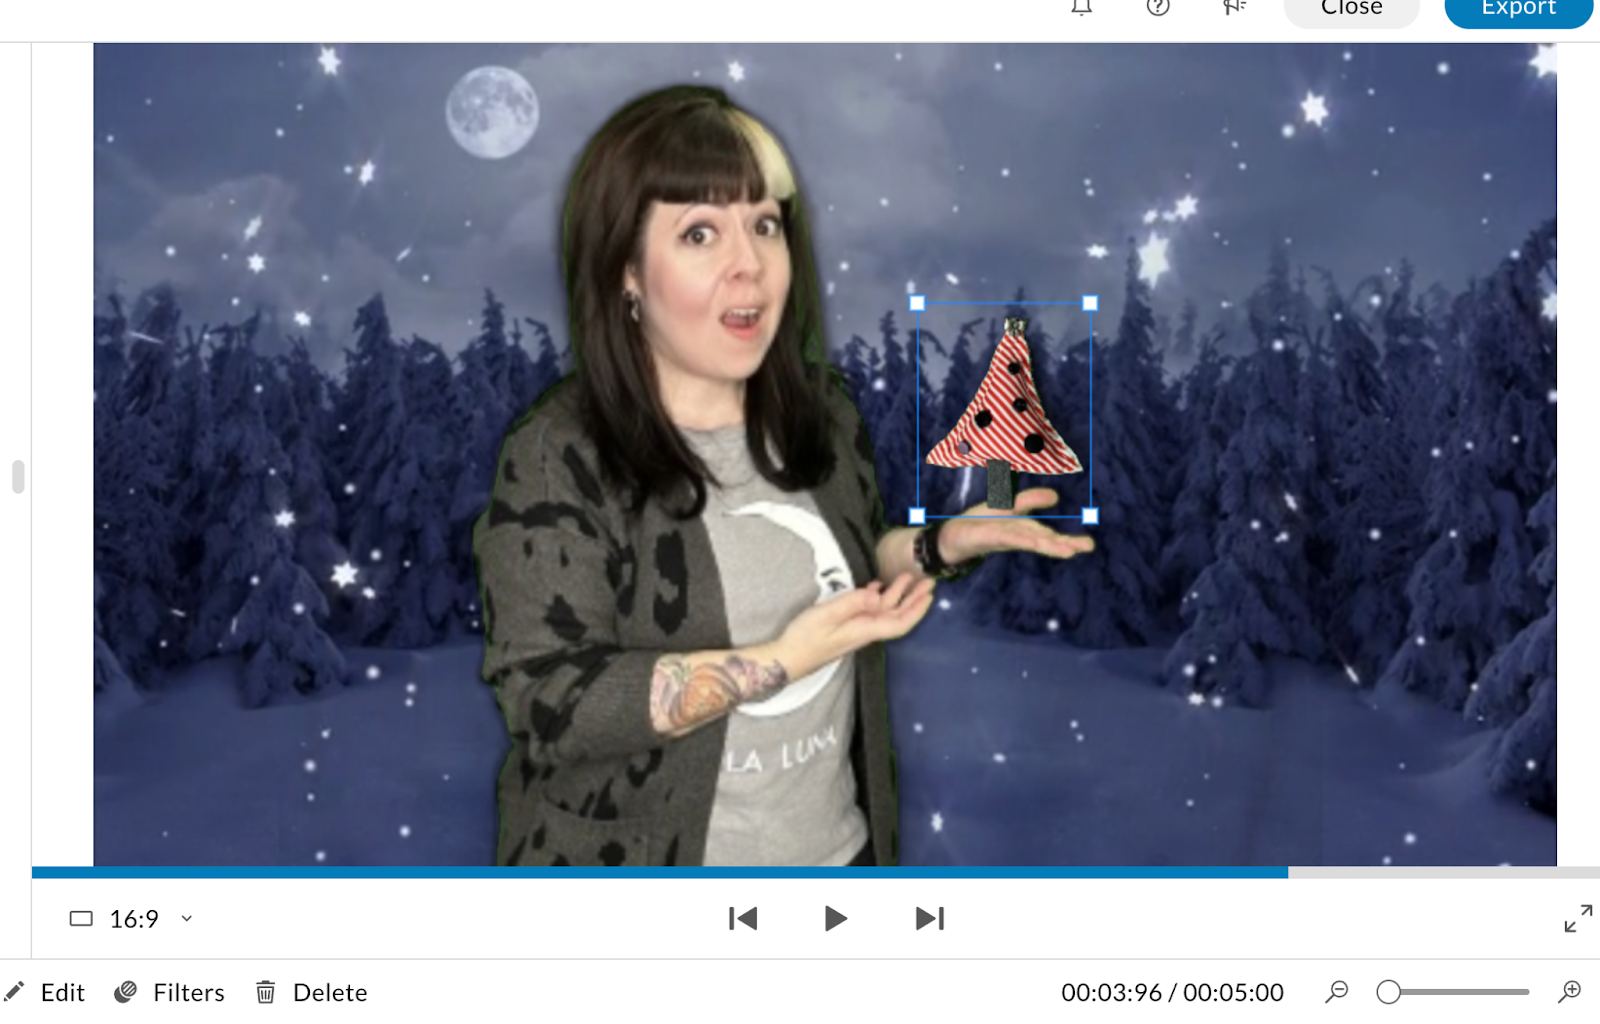
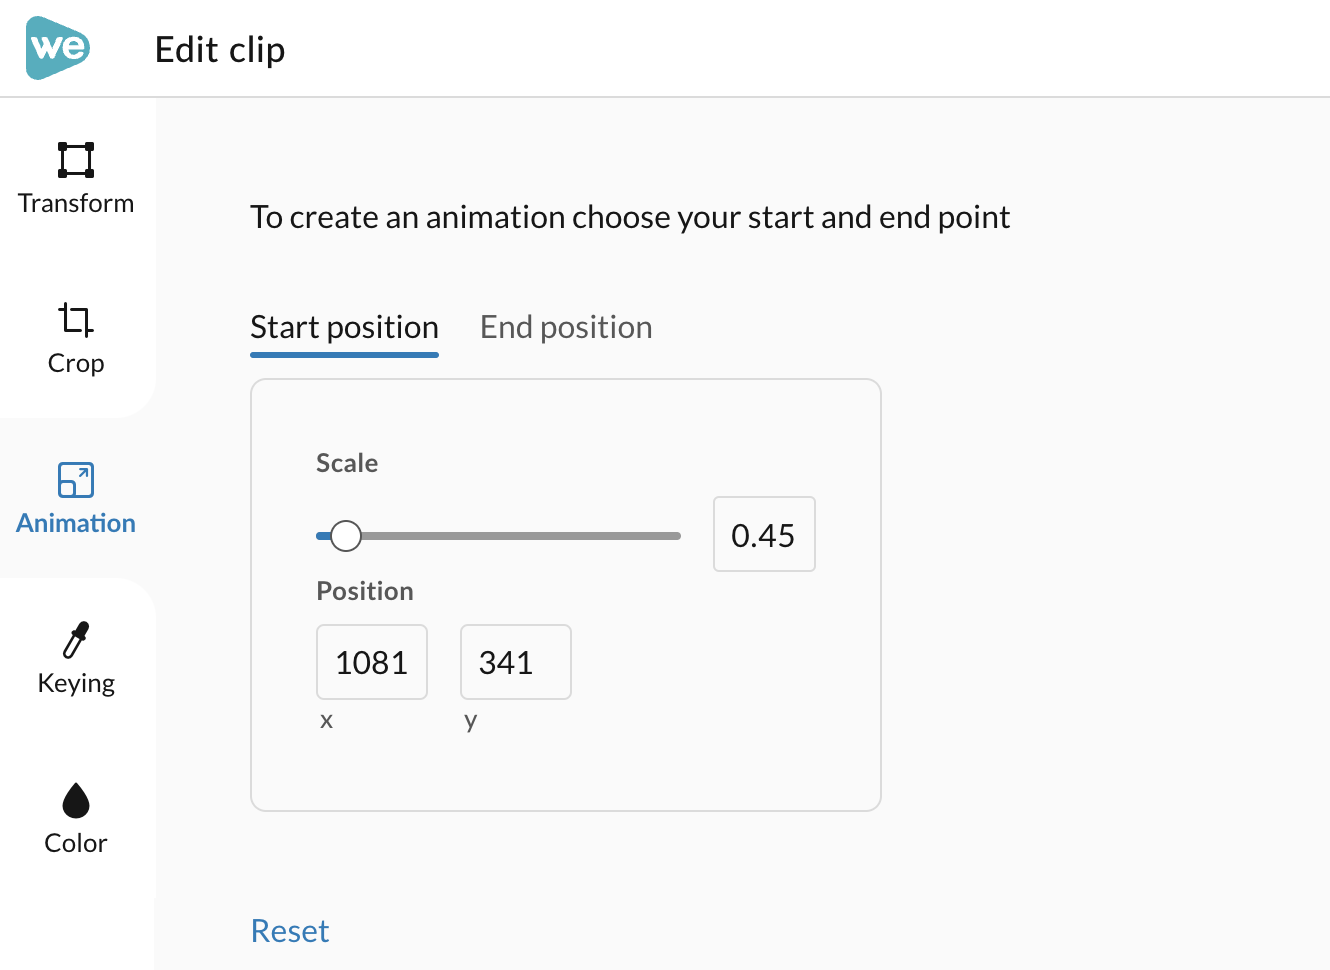
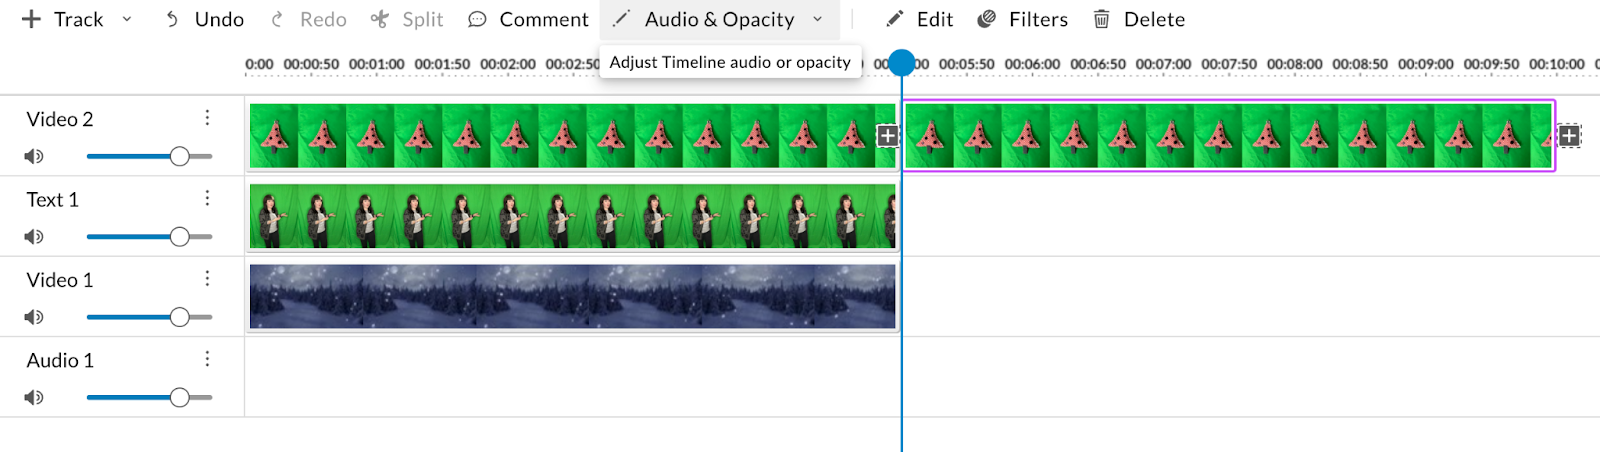
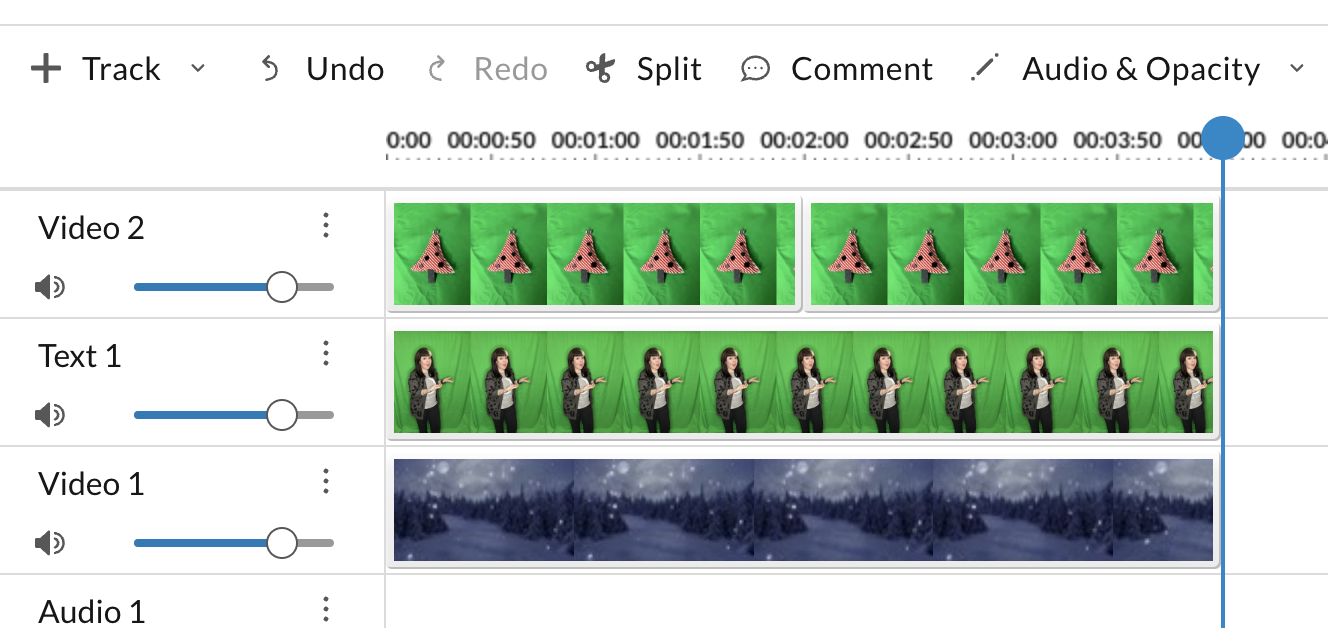
I used WeVideo’s green screen effects to create short demo videos, and then turned the videos into gifs for my presentation at the GEG Chicago Student Film Festival last week:


P.S. Speaking of tech SMASHing, are you following the Ed Tech Hulk on Twitter? He cracks me up!

- Mrs L.